Another prize for the silent auction at a family event coming up soon!! I made eight of each design for a total of sixteen cards which I will package in a Ferraro Rocher box from last Christmas. You can check out the Birthday card set I made for the other prize
here. These fit in #8 envelopes (6.5" x 3 5/8") which are available in most stationary/general stores in most locations. I cut the card fronts from letter sized cardstock and added a section on the short end using the scraps leftover and taped them together. It can be used on the front or the back depending on your design. For these, I used that section for the front because I was gluing a piece of heavy weight decorative paper to fill the front which helps stabilize the extra piece. I added instructions on the back to allow the recipient to reuse the card.
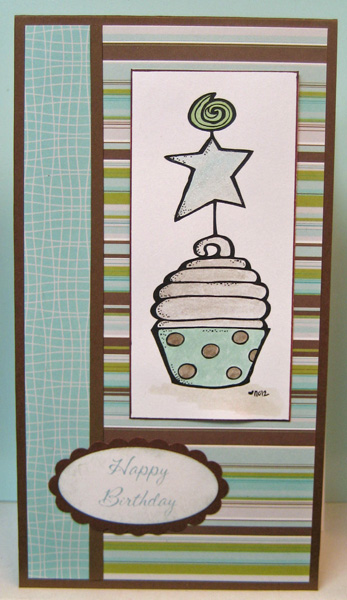
I trimmed two 12" x 12"pieces of heavyweight decorative paper into eight pieces each that measure #3 x 6". I made the cards just a slight bit narrower to accommodate the best use of the decorative paper. I designed the greeting using a font called NOEL, laser printed them in a coordinating colour and punched them out with an oval punch (SU). I punched coordinating scalloped ovals and glued the greetings to them after sponging their edges with a bit of coordinating ink. I cut strips about 3/8" wide from scraps of coordinating cardstock for each set and tied 1/4" ivory silk ribbon to each using a double square knot. I used two digital images for
Dearie Dolls - a holy family and a cool snowman and printed them onto off white cardstock, trimmed them out and watercoloured them. To assemble my cards I glued the decorative paper to my card fronts, added the greeting on the lower section then just above that the strips embellished with ribbon. Next I sponged with coordinating ink all the way the coloured images before adhering them to my cards.
I am not a fan of making lots of cards that are the same but in order to be efficient I did the best I could. It was easiest to colour each part of the images at the same time while I had the colour ready to go - so I painted all the sweaters, then all the noses, etc which made it easier to do them all the same though I did deviate a bit as in some cases the sweater and scarf colours are transposed and the scarf accent colours aren't always the same. I had better luck when I was doing the nativity - those are pretty close to being all the same.
So another set of cards ready to go!!
Therese


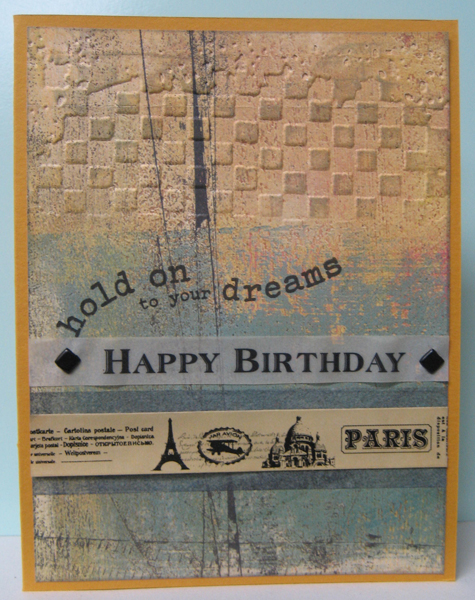
 I found these two scraps together - the turquoise stamped and glitter embossed background and the border punched butterflies!! A friend of mine punched it for me on one of our play dates a few years ago. So I created a couple of cards!!! I started with two deep green card fronts and layered on the embossed pieces on the right hand side. Added the turquoise pieces along with a scalloped turquoise border in behind on the left hand one and a black strip over the edge on the right hand one. I found several black circles in my stash which layered very nicely with my round greetings (SU) so I slipped them under the layer before gluing everything into place. I added sequin flowers to my stamped greetings with tiny brads and then glued them over the black layer which highlights it just enough. I glued the butterfly border above the greeting. I added clear rhinestones to the scallops of the border to finish off the left hand card. Two for my stash!!